Nuggeteer at Play: Fun With Ball Runs

Three years ago, Stephanie’s eldest boy, E, decided that he wanted to fundraise for his first Nugget by collecting bottles from local families. Excited to see how their autistic son and his baby brother, H, would play with a Nugget, Stephanie happily agreed. After a few months of hard work, they ordered their first Nugget! As soon as it arrived, they grabbed their wooden toys to see what they could create. E immediately knew what to do and constructed ball run after ball run, and it was on that day that Nugget ball runs were born… at least in their house.
Today, we teamed up with Stephanie of @ourlittlechaos to show you how to build the very best Nugget ball runs! All ball runs need the same ingredients: a Nugget, your favorite toys, and lightweight balls, marbles or pom-poms. Let’s get started!
Step One: Select a Size
Nugget ball runs come in Mini, Half-Pint, and Full-Sized, with the Minis best for the tiniest Nuggeteers and Half-Pint and Full-Sized best for 1+ years old.

Step Two: Toy Selection
While it may seem a bit magical, some toys can stick to microsuede without any tape or support! Some are better than others, so let’s break down the candidates for ball runs.
Wooden toys are great for Nugget ball runs because the grain in the wood helps hold onto the Nugget. However, some wooden toys don’t work nearly as well, especially those that are painted, super smooth, or overly large or thick — they might just slide down instead of staying in place. What you want to look for are those painted with stains or dyes with a velvet finish, and not too large. Some of Stephanie’s favorite brands include Avdar Toys, Bauspiel and the mini blocks from the Dollar Store; these all stick really well! They often use Grimm’s Wooden Toys and Ostheimer Wooden Animals, but they can sometimes slide.
Even though plastic toys are typically too smooth to work, there is one that they love that makes wonderful Nugget ball runs: magnetic tiles! Know that plastic toys can be tricky, so using magnetic tiles will take some tweaking.
Some items that Stephanie tried without much success: DVD cases (too slippy), the dog (too furry) and little brothers (too wiggly).

For the rolling toy, they’ve successfully used wooden beads, wooden balls, pom-poms, and plastic balls. Small, light wooden balls and beads work best because they usually do not knock pieces out of place. They prefer Grimm’s wooden beads, but any light wooden beads from major stores can work!
Note: If your child is still mouthing toys and/or is under the age of three, please make sure to supervise your child closely.
Step Three: Building Time!
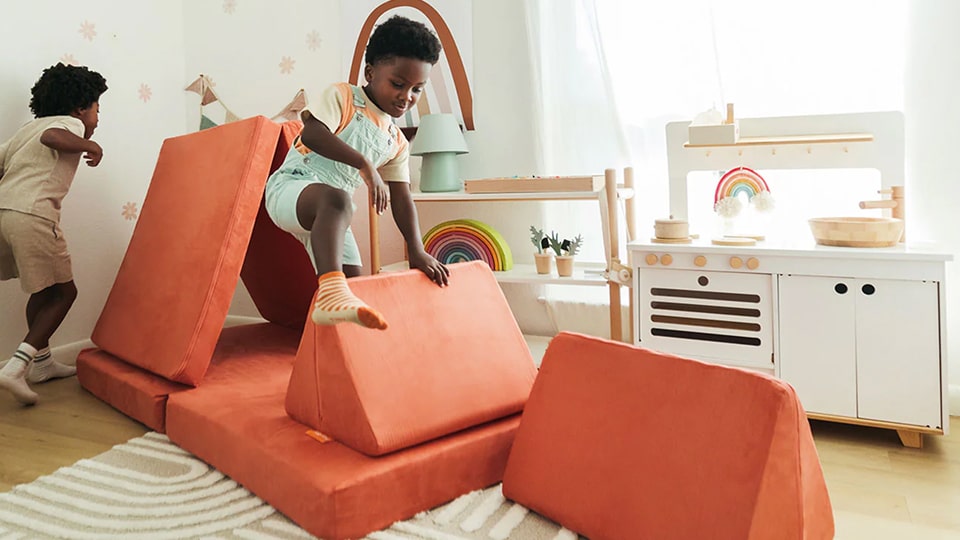
Minis are the easiest to build: Grab a triangle and place the long side flat on the floor, with a small pillow, block, or blanket underneath. Now go and grab some toys, and get building!

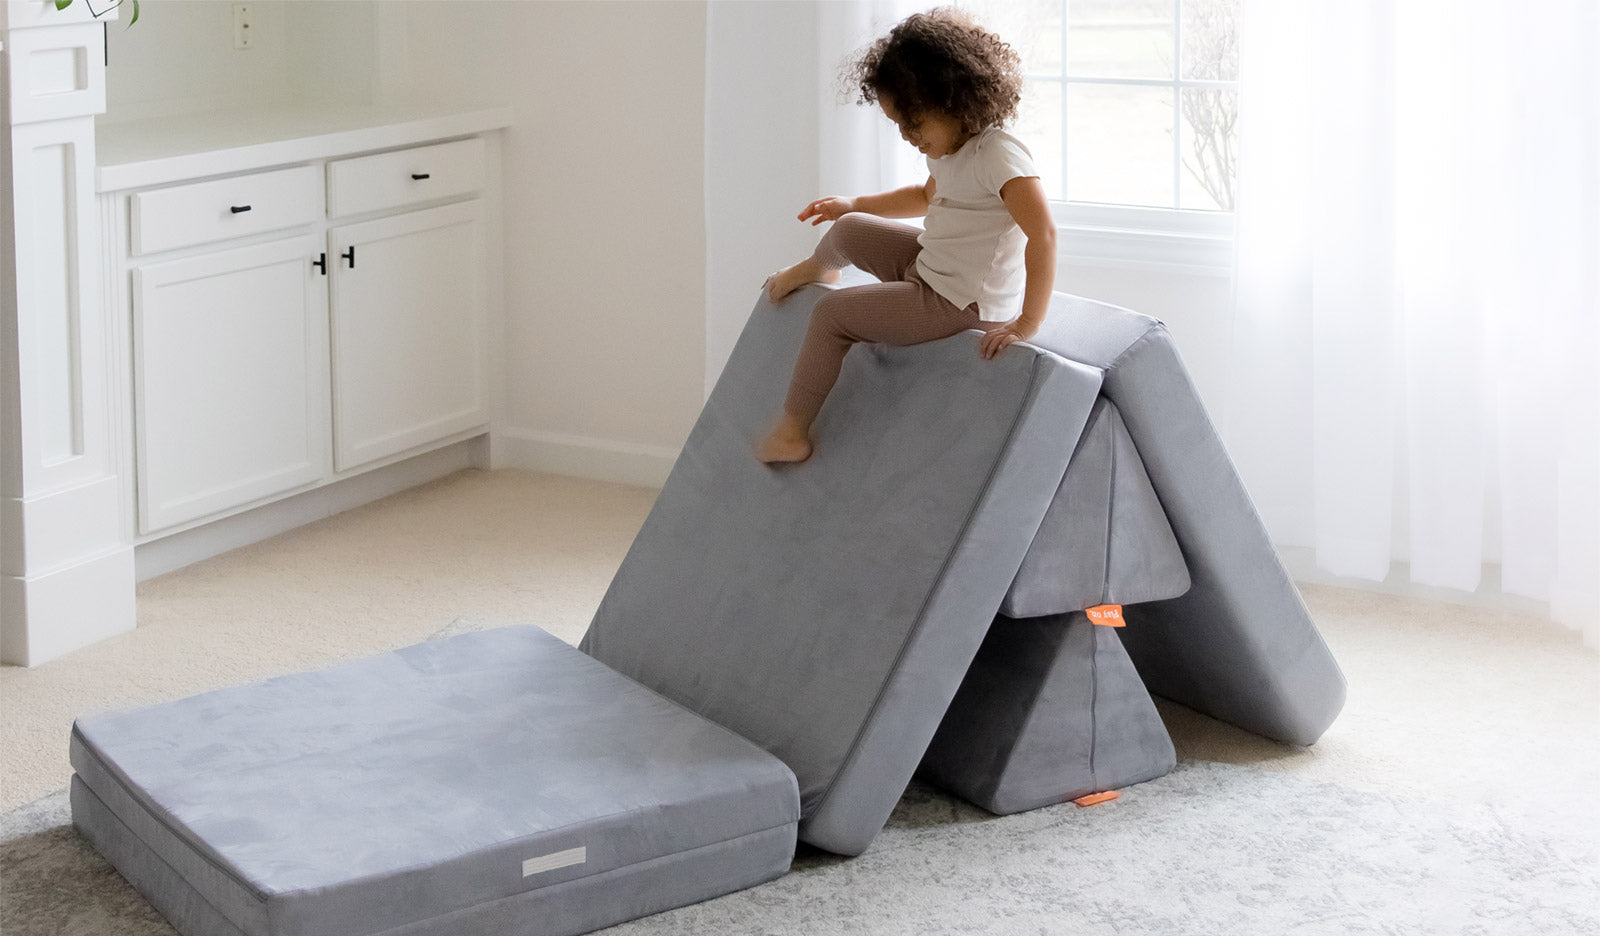
Half-Pints are so fun to build because they can be a Nugget run one minute and an alpine adventure the next! To build a half-pint, follow these four easy steps:
- Lay the Nugget cushion flat on the ground (best for hard floors, optional for carpeted surfaces).
- Place base in an upside-down V on top so that it looks like a mountain.
- Secure with triangles on both sides to prevent slipping.
- Build your run and have fun!

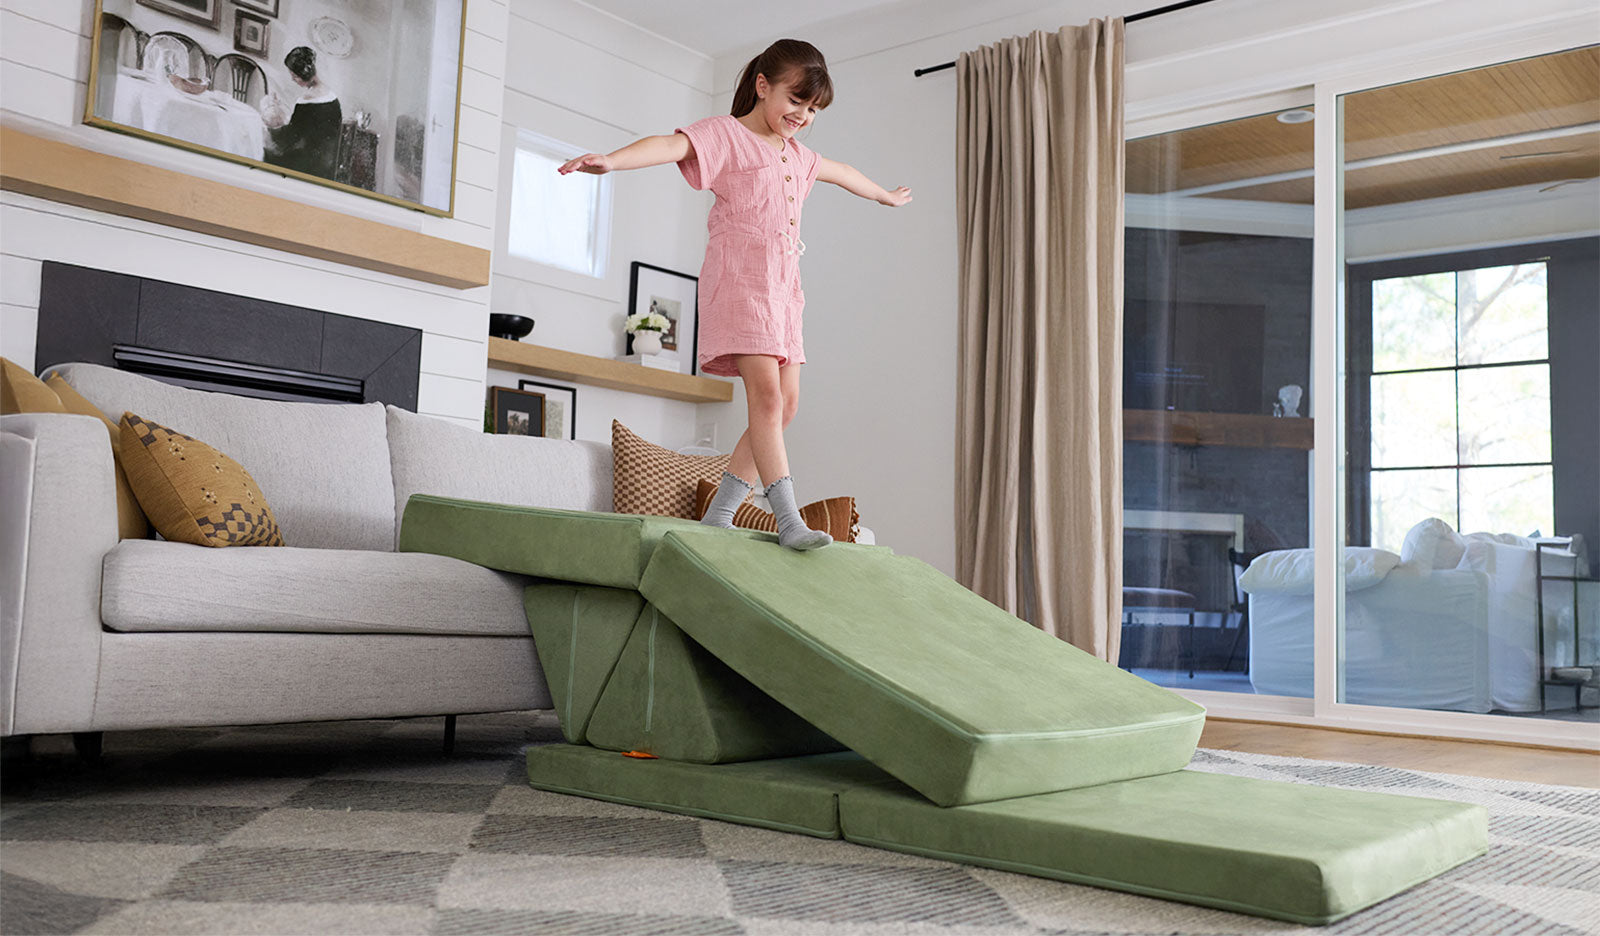
To build a sturdy full-sized Nugget run, follow these five easy steps:
- Lean the Nugget cushion against a wall handle side up.
- Take the base and put one end on the floor and one on top of the cushion.
- Place triangles under the base to support the ball run.
- Grab your favorite toys, such as blocks, magnetic tiles, and animals.
- Build your run however you choose and spend countless hours having fun!
 Thank you to Stephanie, E, and H for sharing these wonderful Nugget creations with us. Nuggeteers, tag us on Instagram as you try these ideas out at home!
